import mitt from "mitt";

const bus = {};

const emitter = mitt();

bus.$on = emitter.on;
bus.$off = emitter.off;
bus.$emit = emitter.emit;

export default bus;
因为vue3里面没有off,所以我们用mitt来代替发布订阅的任务。 其中很多状态变化的通知都是借助于它来完成的。
文件结构
我在加载动画组件之前写的一篇文章就是用它来完成加载动画:WEB加载动画像素字动画
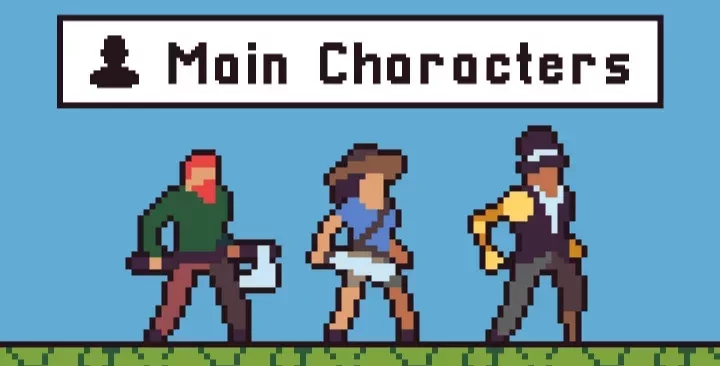
DuckGame 组件是我们游戏的主要容器。
new Game({
    width,
    height,
    el: canvas.value,
    resolution: 1,
    onProgress: n => {
        Bus.$emit("changeProgress", n);
    }
}).init();
这里我们需要将游戏容器传递给Game生成实例。 当然你可以看到在onProgress中,发送了loading动画组件来通知当前的进度状态。
微信截图_221.png游戏场景
import { Container } from "pixi.js";
export default class Scene {
    constructor(game) {
        this.game = game;
        this.stage = new Container();
        this.stage.interactive = true;
        this.stage.buttonMode = true;
        this.stage.sortableChildren = true
        this.stage.zIndex = 1
        return this
    }
    onStart() { }
    init() { }
    show() {
        this.stage.visible = true
    }
    hide() {
        this.stage.visible = false
    }
    update(delta) {
        if (!this.stage.visible) return;
    }
}
游戏中的所有场景都继承Scene,因为逻辑比较简单,只涉及两个场景硬件设备,开始界面和游戏界面。 都比较简单,目前只有显示、隐藏、更新这几个基本方法。
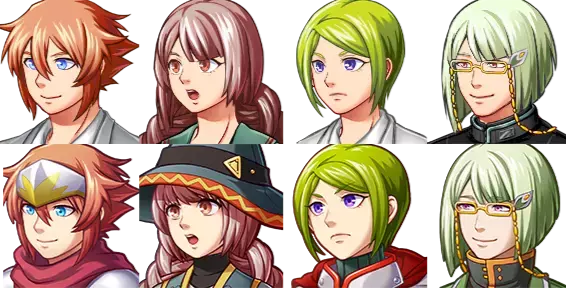
每当我们创建一个新的接口时,我们都会继承它游戏素材png,比如启动接口:
import Scene from "./scene"

class StartScene extends Scene {
    constructor(game) {
        super(game)
        this.topScore = null;
        return this
    }
}

export default StartScene
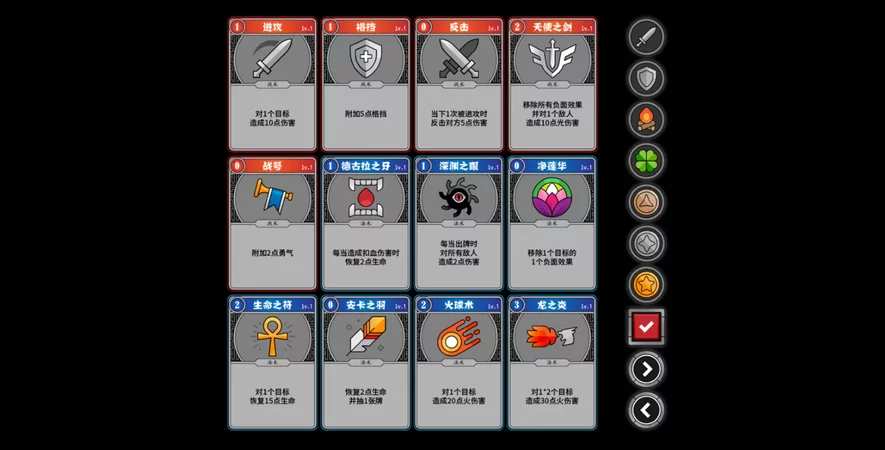
加载材料
因为我们用的是vue3,借鸡下蛋,用url的方式获取对应的素材。
export function getImageUrl(name, ext = "png") {
    return new URL(`/src/assets/${name}.${ext}`, import.meta.url).href
}
然后配置:
const audioList = {
    fire: getImageUrl("fire", "mp3"),
    // ...more
}

const stage = getImageUrl("stage");
// ...more

export default {
    stage,
    ...audioList,
    // more
}
使用pixi.js中的Loader完成加载任务,并通知vue3当前加载动画组件的加载进度。 同时,需要将它们转化为纹理贴图并存储起来,以供后面在pixi.js绘图中使用。
export default class Game {
    // ...
    init() {
        this.loaderTextures().then(res => {
              Object.entries(res).forEach(([key, value]) => setTextures(key, value.texture))
              this.render()
        })
    },
    loaderTextures() {
        const { loader, onProgress } = this;
        return new Promise((resolve, reject) => {
          Object.entries(assets).forEach(([key, value]) => loader.add(key, value, () => {
            onProgress(loader.progress)
          }))
          loader.load((loader, resources) => {
            onProgress(loader.progress)
            resolve(resources)
          })
        })
    },
    reader(){
      // 渲染界面
    },
    // ...
}

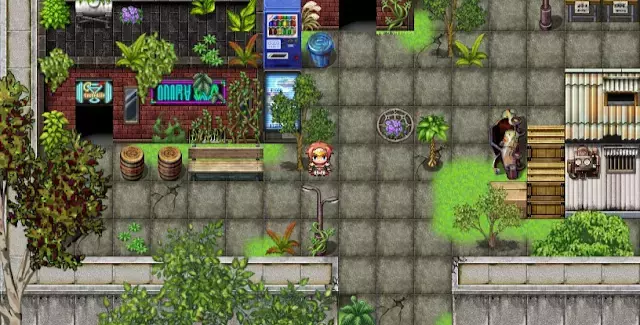
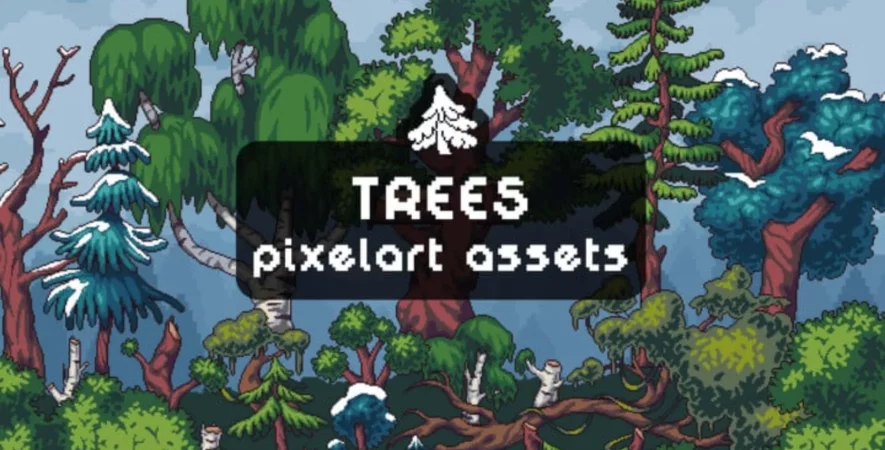
微信截图_212.png绘图界面
本作品的界面大部分由pixi.js中的绘图API完成游戏素材png,主要是手工劳动。 可以参考pixi.js官网的API进行学习。 这里做一个简单的介绍,比如下面黑色背景块的绘制,总分的绘制。
import { Text, Graphics, Container } from "pixi.js";

class StartScene extends Scene {
   // ...
    drawBg() {
        const { width, height } = this.game;
        const graphics = new Graphics();
        graphics.beginFill(0x000000, 1);
        graphics.drawRect(0, 0, width, height);
        graphics.endFill();
        this.stage.addChild(graphics)
    }
    drawTopScore(score = 0) {
        const { width, height } = this.game;
        this.topScore = new Text("top score = ".toUpperCase() + score, {
            fontFamily: 'Press Start 2P',
            fontSize: 24,
            leading: 20,
            fill: 0x66DB33,
            align: 'center',
            letterSpacing: 4
        });
        this.topScore.anchor.set(0.5, 0.5);
        this.topScore.position.set(width / 2, height - 60)
        this.stage.addChild(this.topScore)
    }
}

export default StartScene

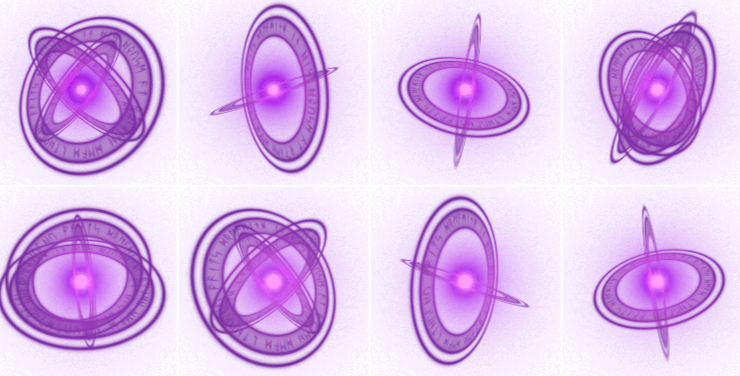
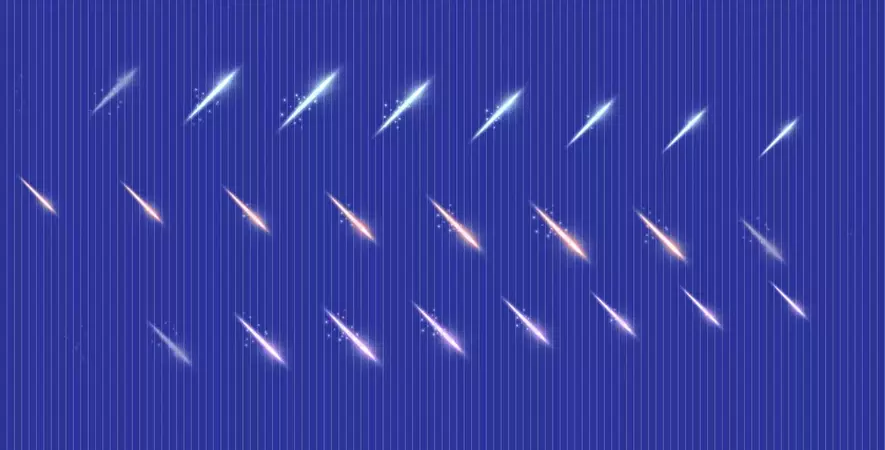
微信截图_215.png游戏动画
因为pixi.js不是视觉游戏引擎,所以我们改用gsap.js来更方便的制作游戏动画。 一些游戏中会出现的闪烁动画,比如开始界面文字按钮点击开始游戏的闪烁,被SteppedEase拖慢了速度,看起来很符合那个时代的味道。
import { TimelineMax } from "gsap"

let btnAni = new TimelineMax().fromTo(this.btn, { alpha: 0 }, { alpha: 1, duration: .45, immediateRender: true, ease: "SteppedEase(1)" });
btnAni.repeat(-1)
btnAni.yoyo(true);

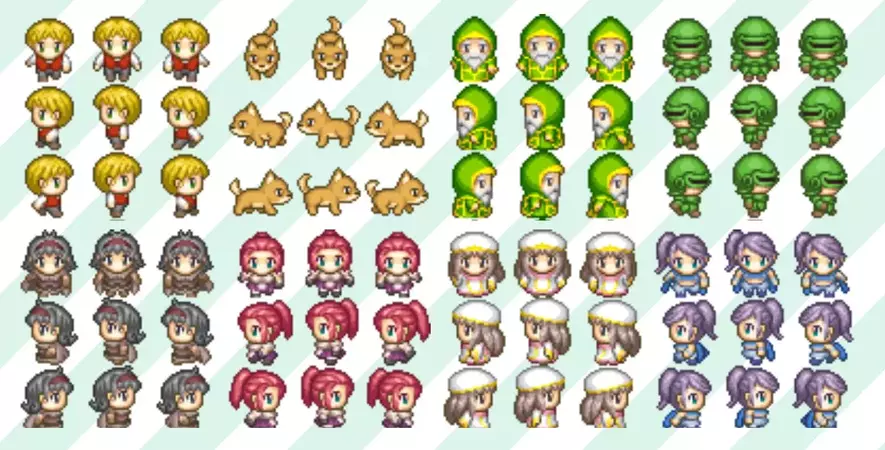
VID_20220327_150632.gif
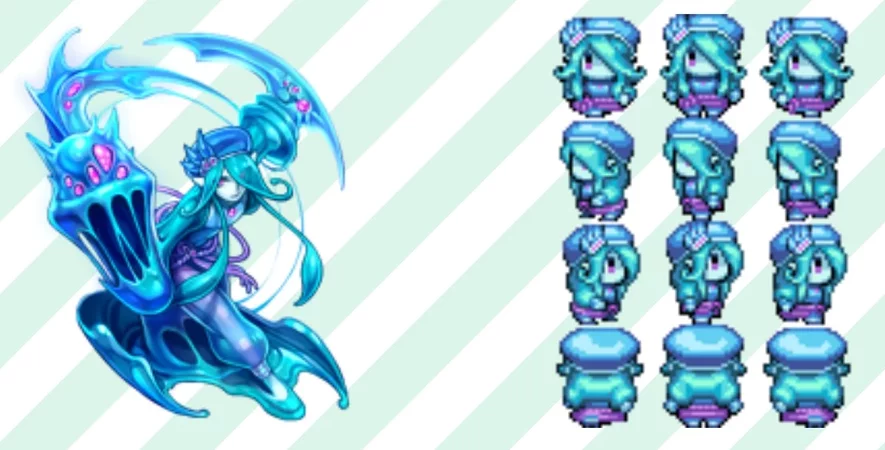
当然涉及到的帧动画比较多,比如猎狗、嘲笑、鸭子飞等等都是帧动画完成的。 pixi.js也有帧动画执行计划,不过我这里没有进一步处理素材,所以我采取了一个技巧,使用了gsap.js的SteppedEase来减慢模拟帧的速度。 这样做的好处是每一帧都可以有一个调整图片位置的方法来弥补图片大小不同带来的位移问题。
let dogSearchAni = new TimelineMax()
dogSearchAni
    .from(dog, 0.16, { texture: getTextures("dog0"), ease: "SteppedEase(1)" })
    .to(dog, 0.16, { texture: getTextures("dog1"), ease: "SteppedEase(1)" })
    .to(dog, 0.16, { texture: getTextures("dog2"), ease: "SteppedEase(1)" })
    .to(dog, 0.16, { texture: getTextures("dog3"), ease: "SteppedEase(1)" })
    .to(dog, 0.2, { texture: getTextures("dog4"), ease: "SteppedEase(1)" })
dogSearchAni.repeat(-1)
dogSearchAni.play()

命中判断
有两种方法可以确定。 首先是bounding box detection,判断鼠标点击的点是否与鸭子重叠,如果重叠则表示命中。 第二个是 pixi.js 中存在的 pointerdown 事件。 这里偷懒了,为了防止一箭双雕的情况,我使用了pointerdown事件。 当我们点击鸭子时,我们改变鸭子的当前状态以指示被击中。 同时我们的系统也会发送一个子弹事件。 如果鸭子的isHit状态变为true,isDie为false,说明鸭子没有死,那么就要显示分数,丢掉死亡动画,最后销毁。
export default class Duck {
    constructor({ dIndex = 0, x = 0, y = 0, speed = 3, direction = 1, stage, rect = [0, 0, 1200, 759] }) {
        // ...
        this.target = new Container();

        // 点中改变状态
        this.target.on("pointerdown", () => {
            if (!this.isHit) this.isHit = true;
        })

        // 接收子弹事件
        Bus.$on("sendBullet", ({ e, callback }) => {
            if (this.isHit && !this.isDie) {
                this.isDie = true;
                this.hit();
                this.duck_sound.play()
                callback && callback(this)
            }
        })
        // 接收飞走事件
        Bus.$on("flyaway", () => {
            this.isFlyaway = true;
        })
        return this;
    }
    move(delta) {
        // 移动
    }
    async hit() {
        // 击中
        const { sprite, score, target } = this;
        this.normalAni.kill();
        sprite.texture = getTextures("duck_9")
        sprite.width = getTextures("duck_9").width
        sprite.height = getTextures("duck_9").height
        showScore({
            parent: this.stage,
            score,
            x: target.x - (this.vx < 0 ? + sprite.width : 0),
            y: target.y
        })
        await wait(.35)
        this.die()
    }
    die() {
        // 死亡
    }
    fly() {
        // 飞行
    }
    destroy() {
        // 销毁
        if (this.target.parent) {
            this.target.parent.removeChild(this.target)
        }
    }
}

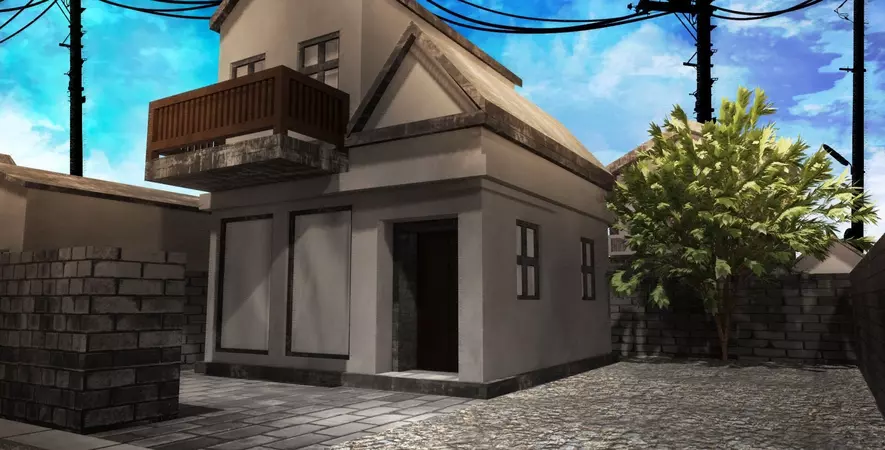
WeChat_246.png适配屏幕截图
为了最大程度的显示界面不变形,我用了一个取巧的方案UI界面,利用css的transform:scale+v-bind方法,让vue计算出最大比例,然后绑定到css上。

微信截图_202.png 结论
总的来说,pixi.js还是很强大的,对付这类游戏再合适不过了。 如果场景界面和动画比较多,推荐使用cocos creator,可以省很多功夫。
这期游戏也是我尽可能关注一些游戏细节做出来的。 童年的记忆,渐渐从模糊变得清晰起来。 用自己的方式创作自己小时候喜欢的游戏,也是一种技术锻炼,回忆童年无忧无虑的生活。